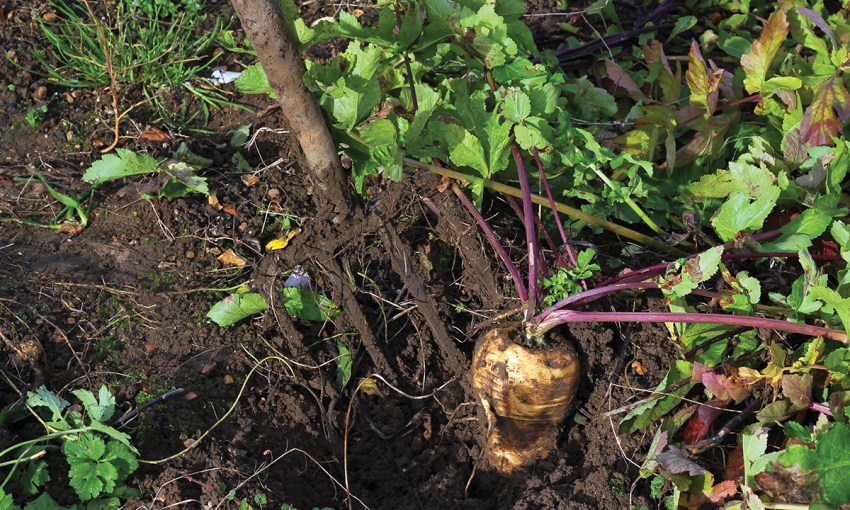
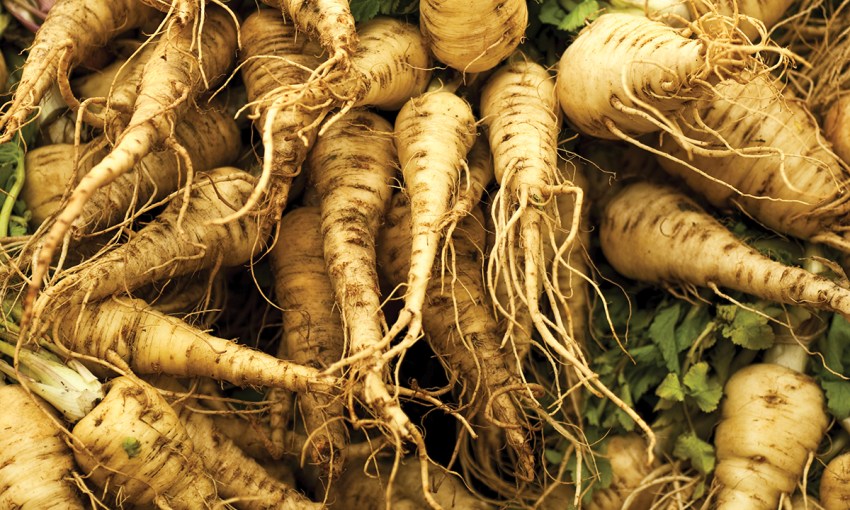
Overshadowed by its close relative the carrot, parsnips are the perfect addition to your veggie garden – and now's the time to get planting.
How to get the best from home-grown parsnips
Native to Europe, parsnips have been a staple on the plates of princes to paupers since ancient times and were used as a sweetener in cakes and jams prior to the introduction of refined sugar.
A traditional English roast wouldn’t be complete without a quiver of accompanying caramelised parsnips. Containing a wide variety of vitamins, minerals and nutrients found close to the skin, cooking whole or very fine peeling helps retain these valuable elements.
As a root vegetable, parsnips grow their very best in loose, friable soil where their dominant taproot can stretch and fill out unimpeded. In hard and heavy soils, roots struggle to penetrate, resulting in gnarled and stunted growth.
Dig in plenty of well-aged organic matter, and a dusting of gypsum in clay soils, over the garden bed, working it into at least a spade depth to help open up the ground. Good drainage is vital as waterlogging causes roots to rot. Raised garden beds filled with potting mix, at least 40cm deep, are free draining and ideal for growing parsnips.
Unlike many vegetables, parsnips are quite fond of low-nutrient soil so are a perfect follow-up crop to heavy-feeding brassicas such as broccoli and cabbage. When following a large planting of peas or beans, parsnips can quickly become a sea of thick, lush top growth with little root development, due to the release of leaf-boosting nitrogen from those nitrogen-fixing legumes, so this is best avoided.
Parsnips are best sown directly into the garden bed as the less root disturbance and potential transplant shock once growing, the better. Sowing any time from mid-spring to mid-autumn, when soil temperatures (above 12C) are warming is ideal. Planting into cold ground will simply cause the seed to sit and rot.
There are a number of wonderful parsnip varieties to choose from including the ever-reliable “Hollow Crown”, medium-sized “Guernsey” with its wonderful nutty flavour or old favourite “Harris Model”. Enquire at your local garden centre or online seed supplier for availability.
Create furrows 30cm apart and sow seeds at approximately 3cm spacings. Seeds germinate in two to four weeks, thin out the emerging seedlings leaving one plant per 20cm to grow and fully develop. Overcrowding will result in a short and scrawny crop.
Keep the soil moist up to and directly after germination, as any drying out will severely set back the emerging seedlings. Consistency and evenness of watering will stop that drying and wetting cycle, which causes interrupted growth and subsequent splitting and damage to the parsnip root.

Weekly applications of seaweed tonics such as Seasol or Eco-Seaweed will give these young seedlings a great start. Start fertilising parsnip seedlings once top growth is around 5-6cm. Avoid high nitrogen fertilisers which, as previously mentioned, encourage leaf growth to the detriment of root development. Potassium (K) and Phosphorus (P) are key elements here so fertilisers with a good balance of these are best.
Dedicated veggie and herb fertilisers with their higher P and K ratios are ideal applied at the recommended rate, coupled with a monthly dusting of blood & bone, which will help those parsnip roots bolt away.
Weed control in the veggie garden is always essential, even more so when root crops such as parsnips are involved. Weeds are always out to compete for nutrients and somehow they do a marvellous job of outperforming carefully-tended veggie seedlings.
As weed roots can quickly invade the growing space around a parsnip’s taproot, getting onto weeds speedily via hand pulling, rather than tilling, will significantly reduce any potential root disturbance to the parsnips and allow the plants to grow freely.
Lumps or galls on the taproot may be the result of root-knot nematode. These microscopic worm-like creatures can be a major problem in the veggie garden, especially for root vegetables. If this occurs, mustard is an effective natural way to repel nematodes and other soil pathogens for future vegetable plantings.
Sow mustard seed as a cover crop and allow it to grow and fill the bed. Prior to flowering, cut down the mustard plants, chop up and dig into the soil. As the mustard breaks down it releases a biofumigant gas which helps control these troublesome nematodes.
Parsnips are classified as a long-term vegetable crop, being ready to harvest 100 to 120 days after seeding. Plants are ready to lift once the foliage begins to die back.
The longer you leave parsnips in the ground, the tougher and more bitter they become. If unsure, simply pull one up to check. When lifting, use a garden fork rather than a spade as the less damaged the parsnip root, the longer it keeps. Twist the leafy top off once lifted to prevent the parsnip going rubbery.
If you like sweeter tasting parsnips, time your harvest for late winter or early spring. Frost and extreme cold trigger the parsnip to convert its stored starch into sugar which simply adds to its delicious taste.
Parsnips also tend to increase in sweetness the longer they are stored. Picked fresh, they will keep two to three weeks in the refrigerator. For long term storage: wash, lightly peel, cut into 3cm cubes, blanch for 2 minutes, let cool and store in the freezer for use for up to 9-10 months.
Whether roasted, mashed, baked, steamed, chipped or eaten fresh, planting parsnips in your veggie patch this autumn will add a new dimension to both your cooking and garden experience.
This article first appeared in the Autumn 2021 issue of SALIFE Gardens and Outdoor Living magazine.


