

If you've enjoyed home-grown tomatoes this summer, why not try saving a few seeds to continue your crop next year? It's easier than you think, and seeds make a great gift.
March 16, 2022
Gardens
How to save tomato seeds for next year
Long before the walls of packet seeds in garden centres were invented, if you wanted to grow your own flowers and vegetables year after year, you had to collect seeds from existing plants. It is a time-honoured gardening tradition.
There are many benefits to collecting seeds. Not only is it interesting and lots of fun, but locally-sourced seeds can produce plants that are better adapted to your specific garden environment.
Also, due to cross-pollination, some plants from those collected seeds may produce different-coloured flowers, shaped fruits or even flavours. What could be more enticing?
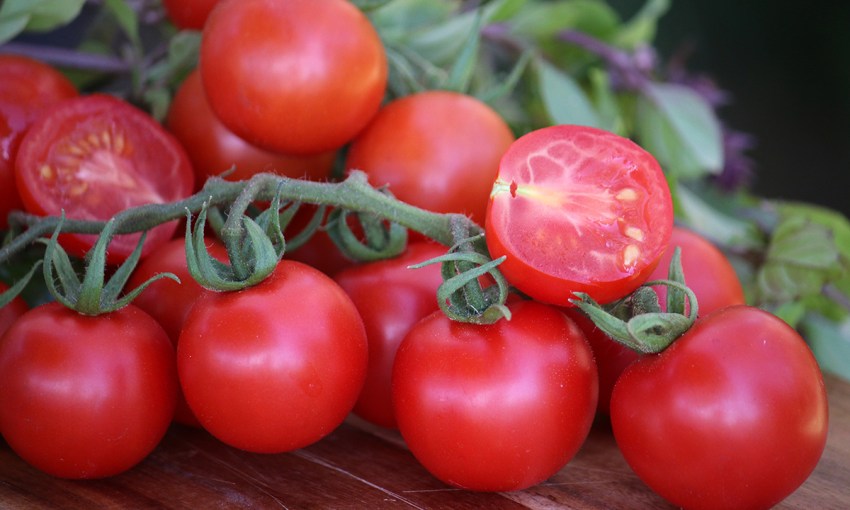
Saving seeds is so rewarding and given tomatoes are Australia’s number one planted veggie, it is a great one to try out first.
Open-pollinated varieties such as heirloom tomatoes are the ones to use for seed harvest. F1 hybrid varieties such as Apollo and Mighty Red are bred for their special garden and fruiting performance, however their seeds are generally unstable and not suitable for collection.

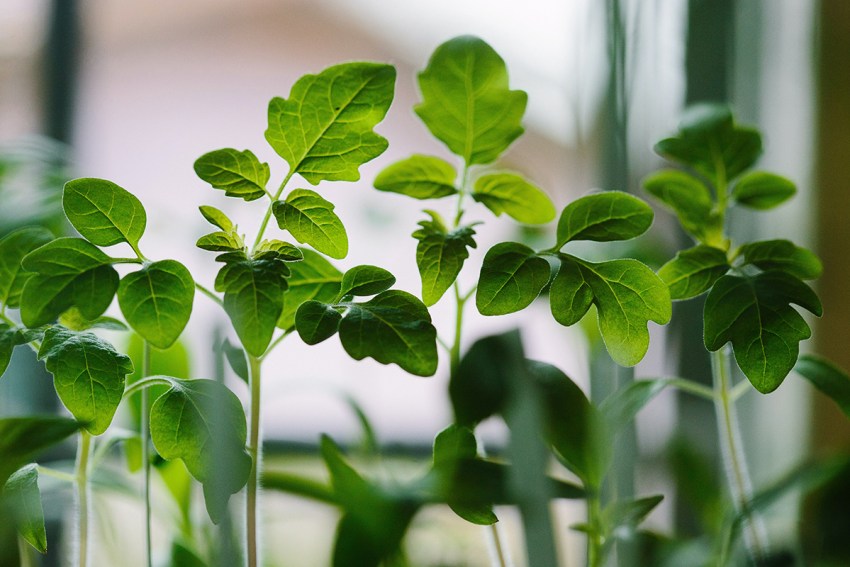
Next season’s top-performing tomatoes start with a healthy and abundantly-producing parent. Pick out the best ones in the patch as their traits – be they loads of fruit, disease resistance, etc – have a good chance of being passed on to the next generation.
Resist the temptation to pick every last fruit on these bushes, let them hang for a while.
If you have a few tomatoes off the same bush, they can be all harvested together, but be sure to keep seed from different tomato varieties separate.
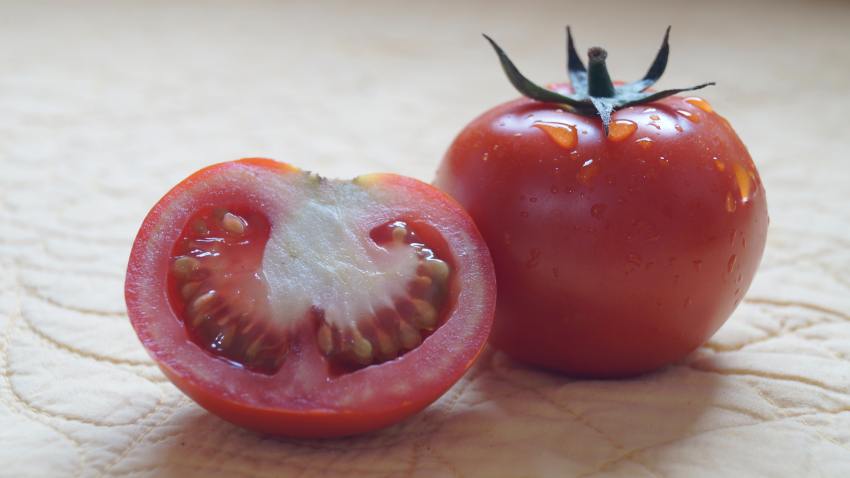
Pick when the fruit are ripe and soft. Grab a sharp knife and cut the squishy tomato open. Lots of pulp and seeds should ooze out.
Scrape up the ooze, scoop out any remaining seeds and put the whole gelatinous mess into a sealable jar. Add a few tablespoons of water and pop the lid on loosely.
Leave the jar in an open spot out of direct sunlight for around three to five days to allow the mixture to ferment and the gas to escape – hence the reason for not screwing on the lid.
The fermentation process is important in breaking down the clear bubble of germination-inhibiting gel around each seed. Give the jar a gentle agitation daily.
Once the majority of seeds have sunk to the bottom and the pulp is floating, it’s time to take them out. Don’t worry if there is a little mould on top, it’s all natural.
Pour the pulp and liquid out, being careful not to disturb the seeds too much, then tip the remaining seeds and contents into a strainer and wash under cold running water.
Rub your fingers through the seeds, lightly pushing the seeds against the mesh to rub off any remaining material.
Roll a line of paper towel and tap out the seeds. Pat down with more paper towel to remove excess moisture then brush the seeds onto a dinner plate and leave for a few days to fully dry.
Divide the seeds into groups of 10 or 20 and place each into an envelope and seal. Mark the date and the type of tomato (cocktail, truss, beefsteak, etc) the seeds originally came from to help with identifying what to sow.
Kept in a cool, dry place. Tomato seeds can remain viable for six years or more.
Saved seeds make great gifts, slipped into a birthday or Christmas card, and the subsequent tomato plants that grow and fruit will certainly be a topic of happy conversation.
Why stop at tomatoes? There are plenty of other delicious vegetables, herbs and flowers waiting for a seed harvest in your garden. Give it a go!
This article first appeared in the Autumn 2021 issue of SALIFE Gardens & Outdoor Living magazine.
Subscribe Today!
Subscribe to South Australia's biggest-selling magazine, showcasing the best of Adelaide and South Australia. $143 per year with free delivery to your door.
Share —